
Introduction
Some time ago, I rewrote my blog and created a new type of content - Problems & Solutions. This type of content doesn't require images because it's more text-oriented. But of course, I needed og:image for SEO purposes.
That's how I came to the idea that I should create my image generator!
Preparations
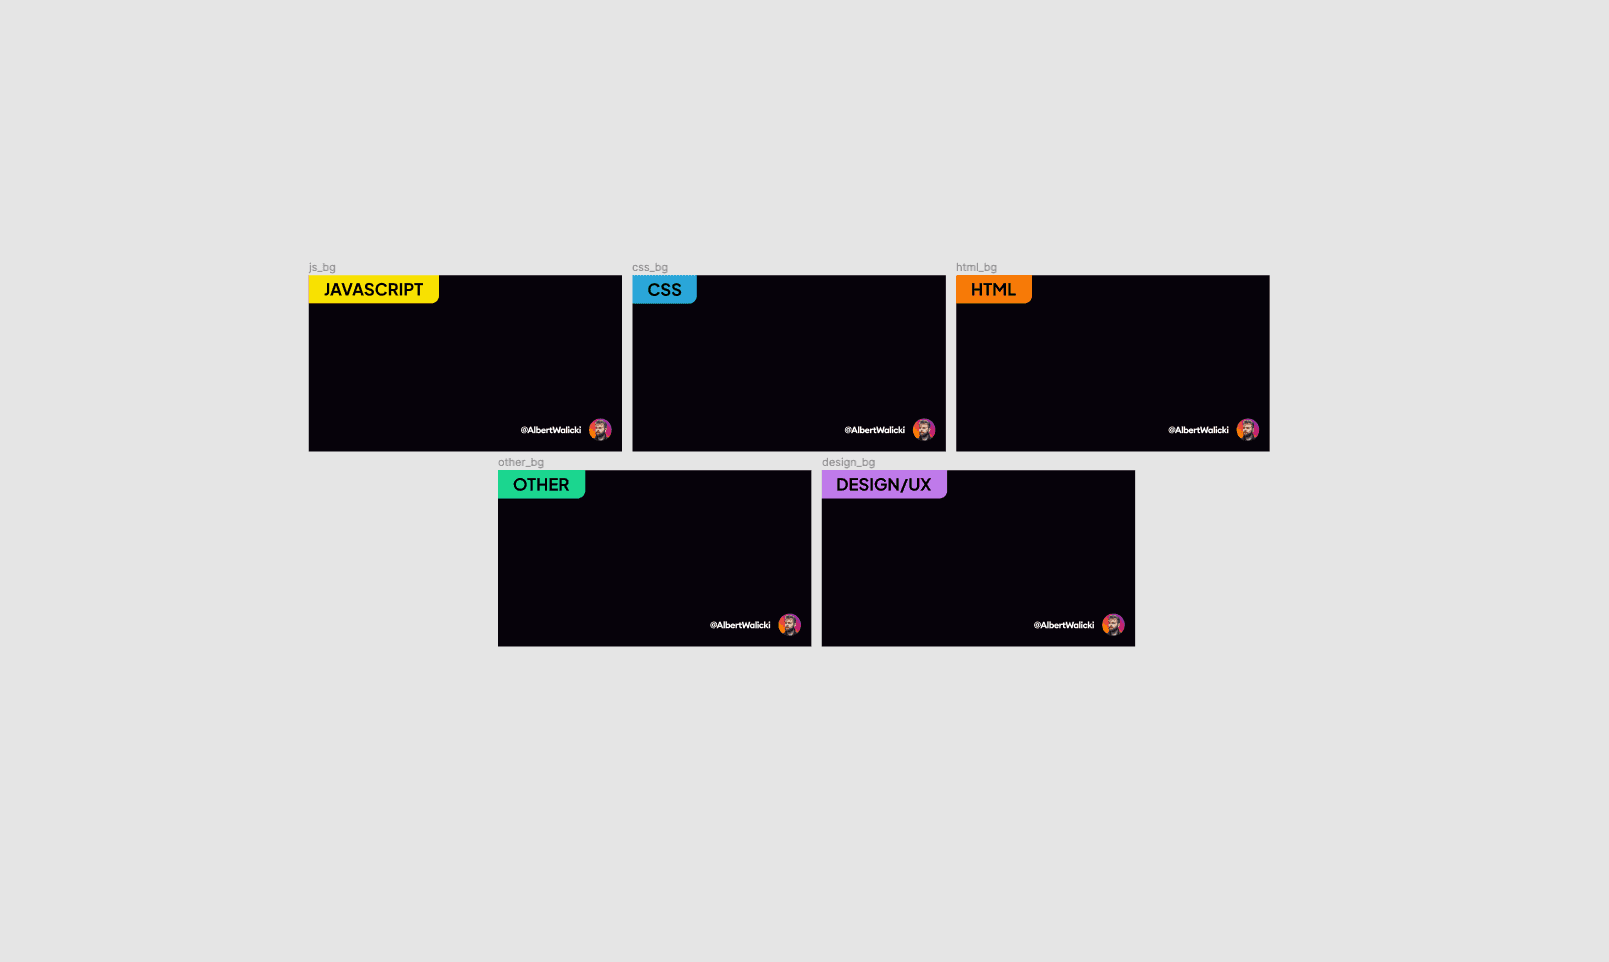
My idea was to have five categories of solutions. That's why I created five similar images as a base for my og:image.
For all design purposes, I use Figma. It's simple and very easy to use!
The second thing that we need is to install a node-html-to-image library.
This library is powerful, it allows us to generate images from HTML, and we were looking exactly that thing!
To install this library just type in your terminal:
npm install node-html-to-imageoryarn add node-html-to-image
Basic script
Let's start coding! First of all, we need to require our library:
const nodeHtmlToImage = require('node-html-to-image');Then let's create a basic function with an example from the library:
const nodeHtmlToImage = require('node-html-to-image');

const nodeImage = () => {
  nodeHtmlToImage({
    output: './image.png',
    html: '<html><body>Hello world!</body></html>'
  }).then(() => console.log('The image was created successfully!'));
}

nodeImage();
To run this script, just simply type node [filename].js in your terminal and replace [filename] with your correct filename. In my case, it will be test.js
This is our log in terminal:
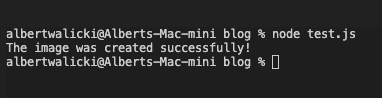
All good! So let's check the image:
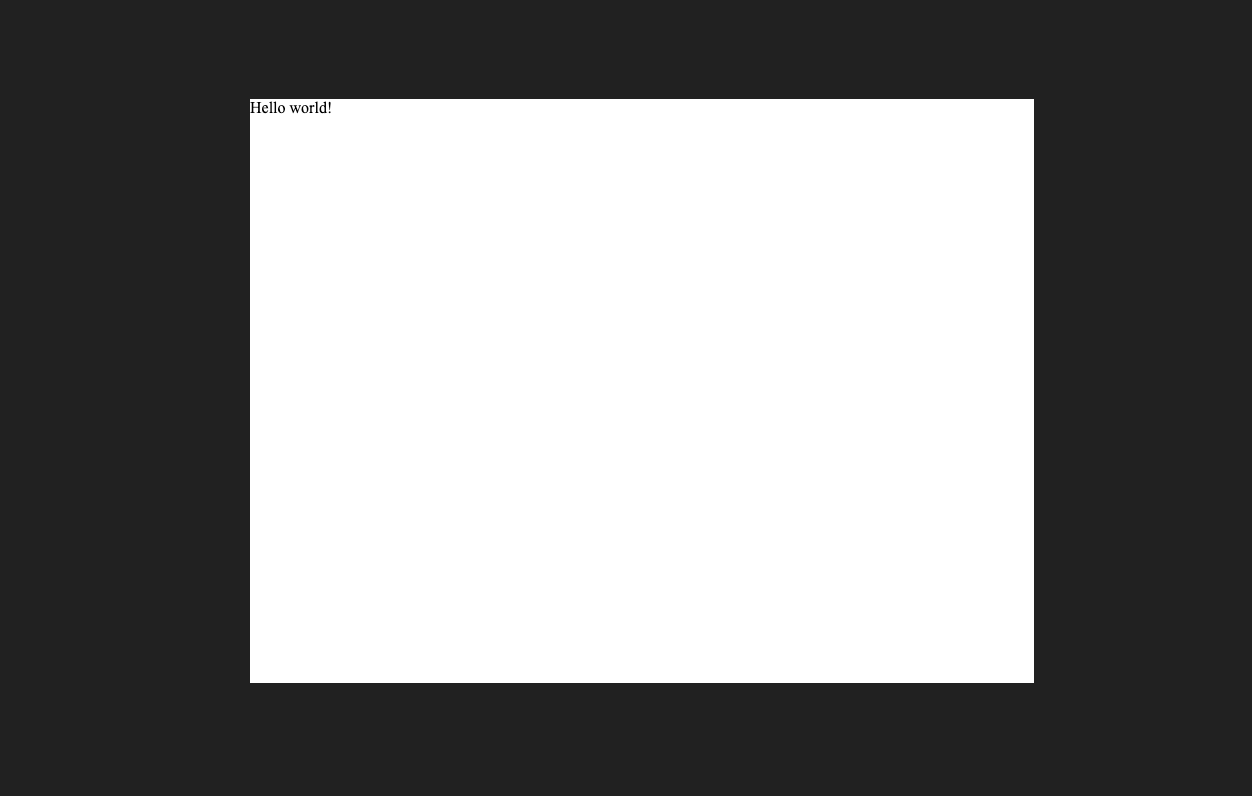
Perfect! Our script worked, so let's create more a complex example.
Generating images
Our node-image library is generating images from the HTML code, so let's add some HTML to the body:
(...)

 <html>
  <body>
    <img src="https://albertwalicki.com/js_bg.png" alt="" width="1200" height="675"/>
    <div class="wrapper">
      <h1>Hello World!</h1>
      <h2>This is my description!</h2>
    </div>
  </body>
</html>

 (...)
But this isn't enough! We need to add some styles in <head>:
(...)

 <html>
  <head>
    <style>
    html {
      width: 1200px;
      height: 675px;
      font-family: Arial;
    }
    body {
      width: 1200px;
      height: 675px;
      margin:0;
    }
    .wrapper {
      position: absolute;
      left: 60px;
      top: 130px;
    }
    h1 {
      font-size: 64px;
      color: #fff;
      display: block;
      max-width: 1000px;
      margin: 0;
      line-height: 1.4;
    }

    h2 {
      font-size: 42px;
      margin: 20px 0px 0px 0;
      color: rgb(183 182 181);
      max-width: 1000px;
      line-height: 1.3;
    }
    img {
      width: 1200px;
      height: 675px;
    }
  </style>
  </head>
  <body>(...)</body>
</html>

 (...)
Our styled image looks like this:
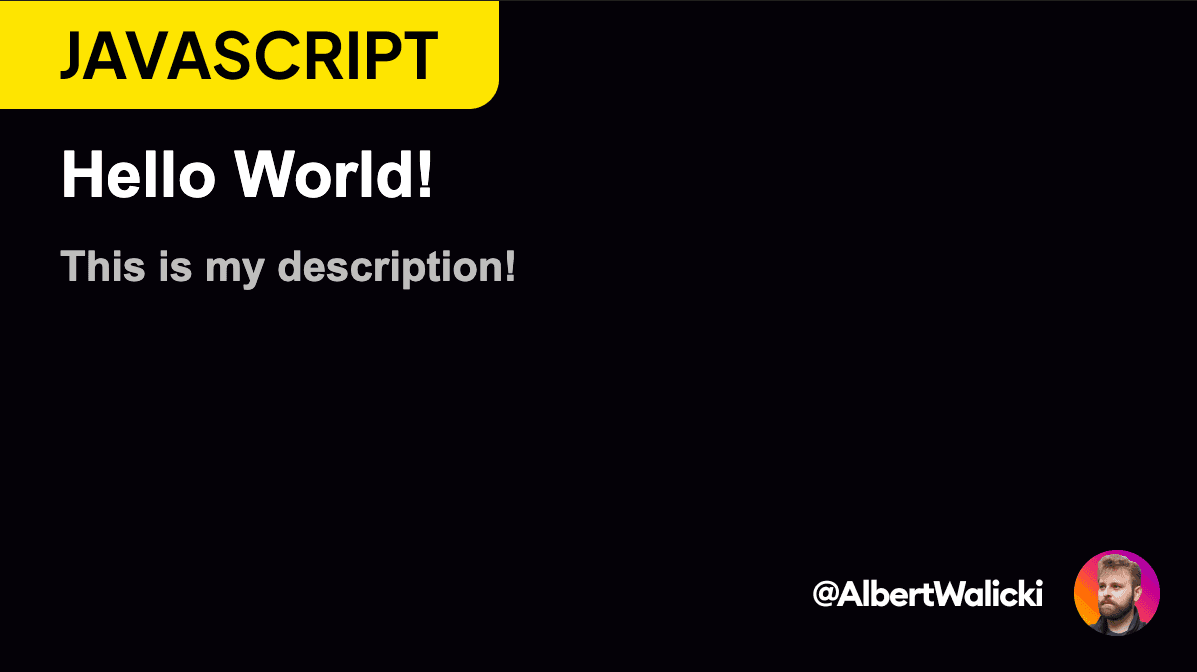
But right now, our image is static, and there is no way to change text or base background. So, let's change this!
Customization of images
We don't need to use multiple different images as backgrounds to create images. We don't need even one of them. I could do it entirely in HTML and CSS. But to create five images, I spent one minute in Figma, and to do it in code, I should spend at least two minutes so that it would be a one-minute time loss 🤣.
Variables
To have reusable code, we should pass three parameters to our function:
- title
- description
- category of image
(...)
const nodeImage = ({title, description, category}) => {
(...)
<img src={"https://albertwalicki.com/"+ category + "_bg.png"} alt="" width="1400" height="675"/>
<div class="wrapper">
  <h1>${title}</h1>
  <h2>${description}</h2>
</div>
(...)
});

nodeImage({title: "Hey, this is a title!", description: "A short text below title", category: 'js'});
Font
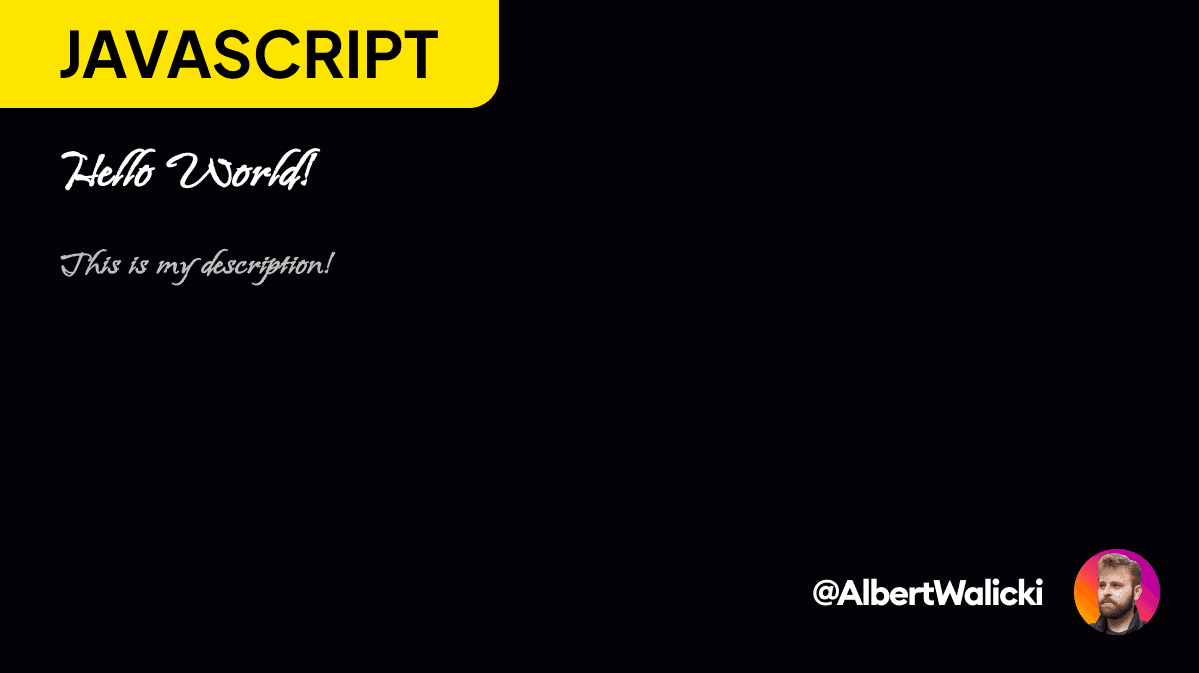
Right now, we are using a basic font-family - Arial. But what should we do to use some fancy fonts? The easiest way is to use Google Fonts.
We just need to add some links to our <head> like here:
(...)
<link rel="preconnect" href="https://fonts.googleapis.com">
<link rel="preconnect" href="https://fonts.gstatic.com" crossorigin>
<link href="https://fonts.googleapis.com/css2?family=Island+Moments&display=swap" rel="stylesheet">

<style>
  html {
    width: 1200px;
    height: 675px;
    font-family: 'Island Moments', cursive;
  }
</style
(...)
And there is our fancy font!
Prevent duplicates
I run my image-generation scripts on build time inside Nextjs getStaticProps. After downloading the data from the CMS, I use our nodeImage function. That's a huge waste of resources because the function will be rendering this image every build time.
That's why I wrote another simple function:
const imageExists = async ({filename}) => {
    const url = 'https://albertwalicki/solutions-img/' + filename + '.png';
    const http = await fetch(url, {method: 'HEAD'})
    return http.status !== 404;
}
This function fetches an image by the URL. When there's an image for a specific filename, it returns true and false if there is no such an image.
NOTE: You might have to install node-fetch, because the fetch API is not implemented in Node.
Link:Node Fetch github
In my case filename is the same as the URL to the solution post. All we need to do is to add this code at the very top of the nodeImage function:
let alreadyCreated = await imageExists({filename});

  if (alreadyCreated) {
    console.log("exist, no need for new render")
    return;
  }
}
Wrapping up
Here's a complete script for generating images:
const nodeHtmlToImage = require('node-html-to-image');
 const fetch = require("node-fetch");

 const imageExists = async ({filename}) => {
   const url = 'https://albertwalicki.com/solutions-img/' + filename + '.png';
   const http = await fetch(url, {method: 'HEAD'})
   return http.status !== 404;
 }

 const nodeImage = async ({ title, description, category, filename }) => {

   let alreadyCreated = await imageExists({filename});

   if (alreadyCreated) {
     console.log("exist, no need for new render")
     return;
   }

   nodeHtmlToImage({
     output: './image.png',
     html: `
     <html>
     <head>
       <link rel="preconnect" href="https://fonts.googleapis.com">
       <link rel="preconnect" href="https://fonts.gstatic.com" crossorigin>
       <link href="https://fonts.googleapis.com/css2?family=Island+Moments&display=swap" rel="stylesheet">
       <style>
         html {
           width: 1200px;
           height: 675px;
           font-family: 'Island Moments', cursive;
         }
         body {
           width: 1200px;
           height: 675px;
           margin:0;
         }
         .wrapper {
           position: absolute;
           left: 60px;
           top: 130px;
         }
         h1 {
           font-size: 64px;
           color: #fff;
           display: block;
           max-width: 1000px;
           margin: 0;
           line-height: 1.4;
         }

         h2 {
           font-size: 42px;
           margin: 20px 0px 0px 0;
           color: rgb(183 182 181);
           max-width: 1000px;
           line-height: 1.3;
         }
         img {
           width: 1200px;
           height: 675px;
         }
       </style>
       </head>
       <body>
         <img src='https://albertwalicki.com/${category}_bg.png' alt="" width="1400" height="675"/>
         <div class="wrapper">
           <h1>${title}</h1>
           <h2>${description}</h2>
         </div>
       </body>
     </html>`
   }).then(() => console.log('The image was created successfully!'));
 }

 nodeImage({ title: "Extra space below image", description: "One of the most common problems that almost every junior
frontend developer had", category: 'css', filename: 'extra-space-below-image' });
And that's it! I hope you understand now how to generate images with Node!
Thank you for reading and see you next time!